How We Did Our Stair Remodel
When we bought the house, I knew I loved the dramatic curved staircase. However, I didn’t like the dirty, stained carpet and the dated woodwork.
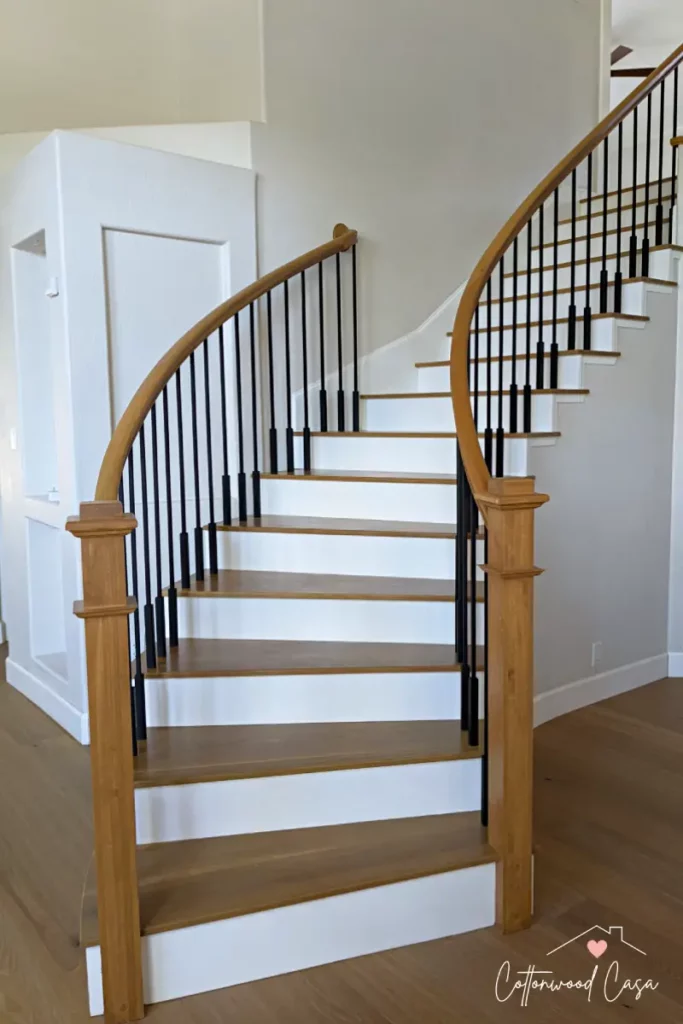
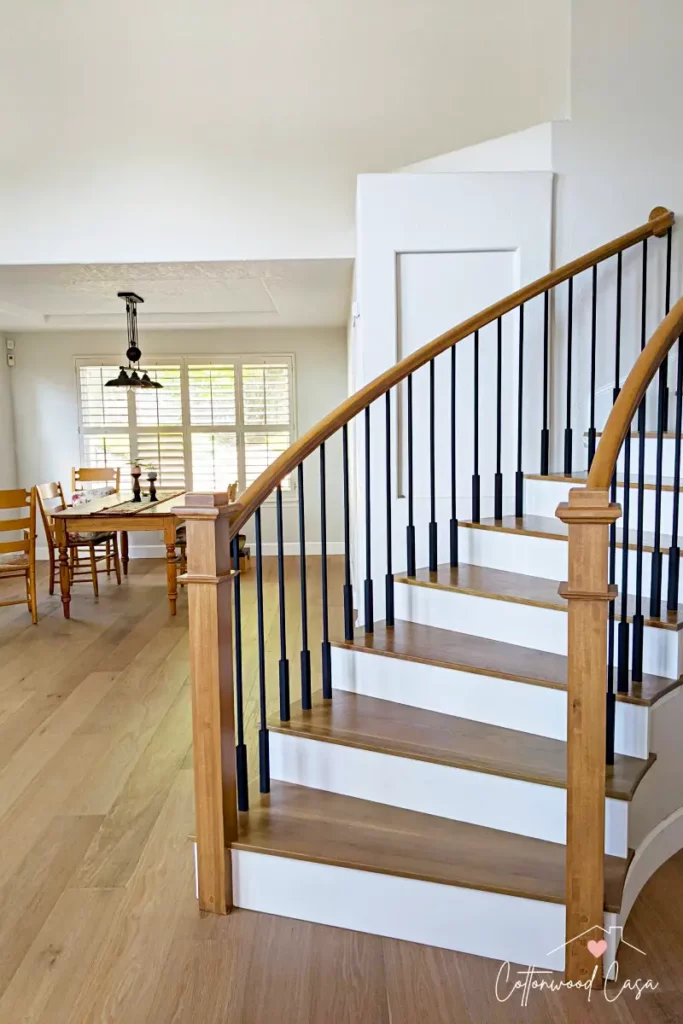
I am in love with our new stairs! This is what you see as soon as you walk in the front door, but it didn’t always look this way. This is how we removed carpet and did a complete stair remodel on a curved staircase, including what we did ourselves and what we hired out.
Despite its shabby appearance, I loved this curved staircase as soon as I saw it. I also knew that a stair remodel needed to happen ASAP. Every element of these stairs, from the original stained carpet to the yellow honey oak, just looked worn out.
Stairs Before
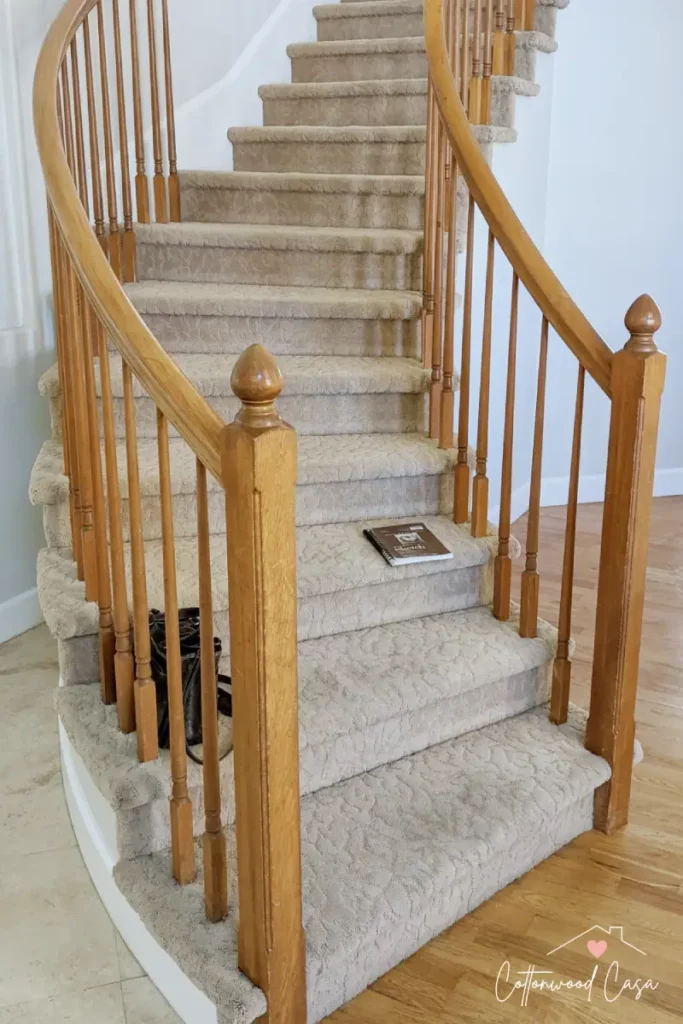
There were lots of scratches on the wood and some of the balusters were cracked and broken.
Stair Remodel Demolition
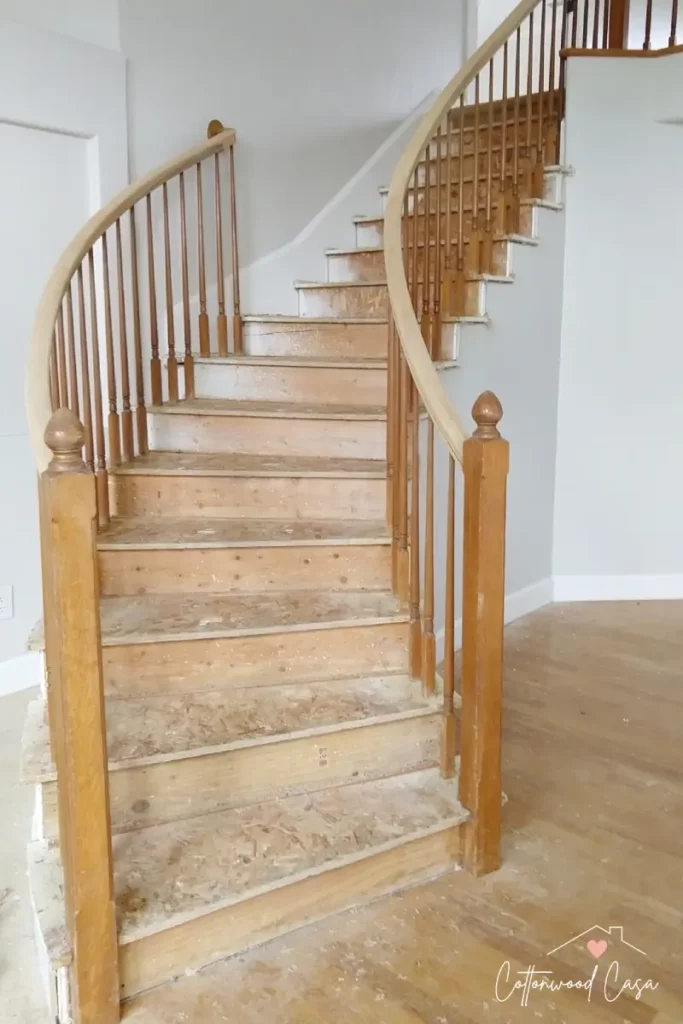
For this stair remodel, we did the demo ourselves to save on costs. First, we took out the carpet, padding, and carpet tack strips. It was quite a job as there were about a million tacks and staples that needed to be pried out of the stairs. But as soon as the carpet was out, the stairs looked so much better. It was almost like they were breathing a sigh of relief! Usually, I doubt all of my design decisions and second guess myself, but after seeing the carpet gone, I was confident this was the right way to go!
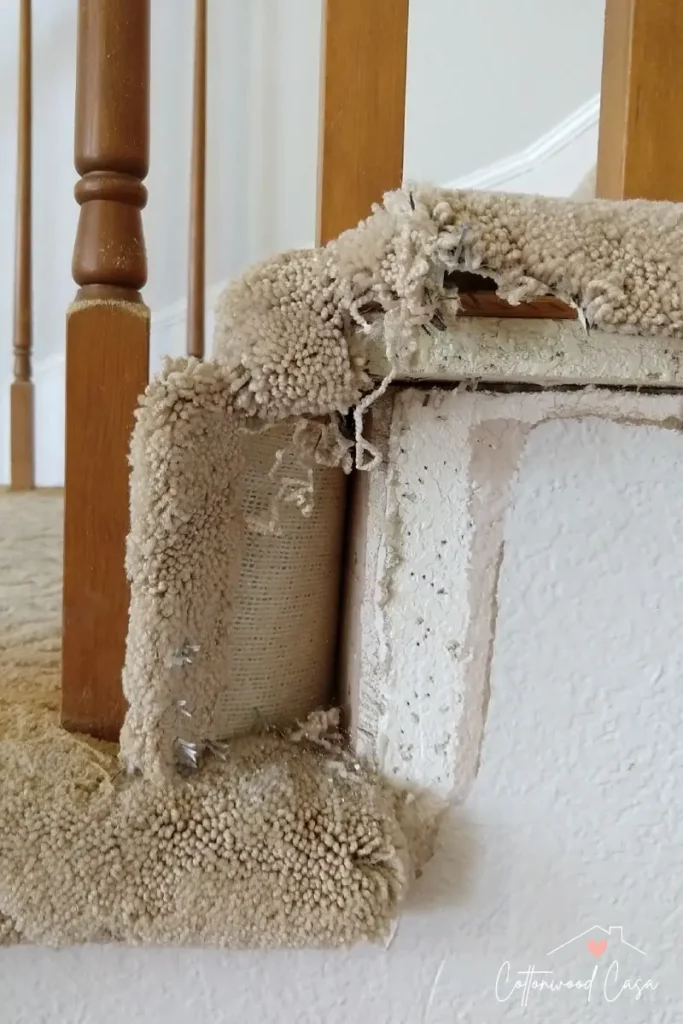
I needed to be very careful removing the carpet from the sides of the steps. The carpet was wrapped around each step and stapled into the wall. So I had to be really careful not to damage the drywall.
Next, we removed the balusters. It was easy to cut them and wiggle them out.
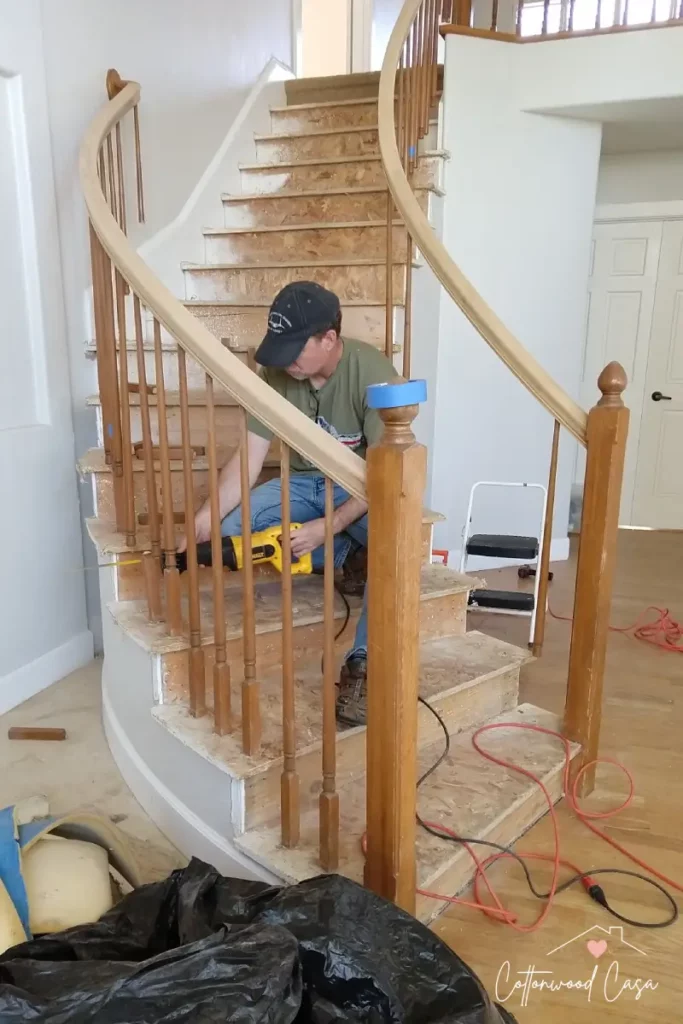
We felt confident in our abilities to take the stairs apart. We were able to remove the carpet, remove balusters, and sand the remaining elements. However, putting them back together was more than we could handle. So we found a local contractor to do the renovation.
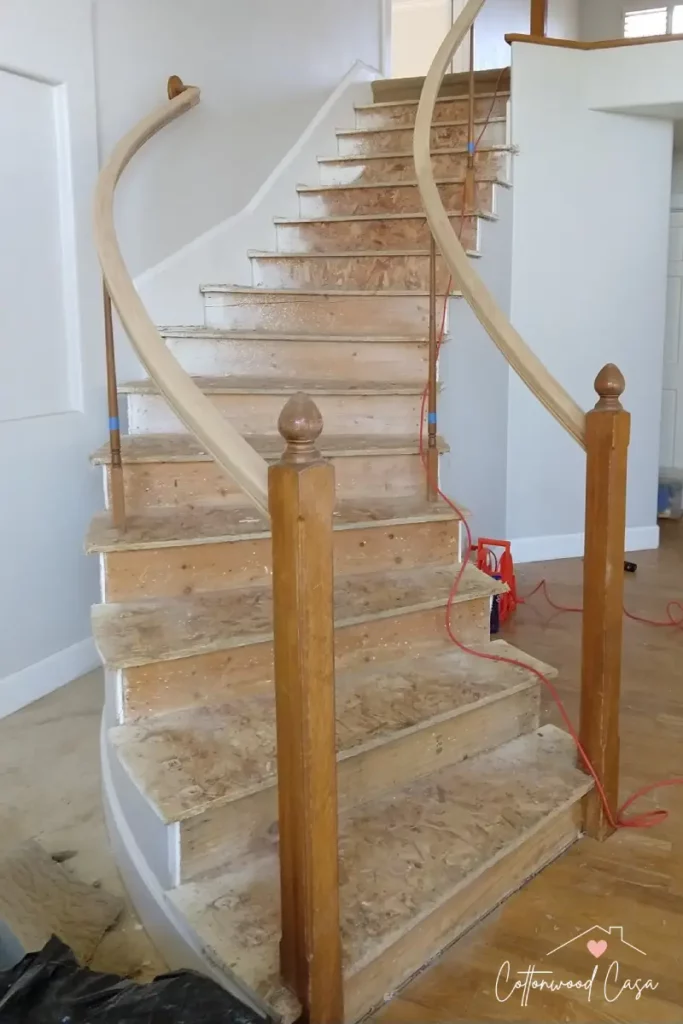
Stair Remodel Renovation
We hired the carpentry out to someone else. They installed the new risers, treads, and banisters.
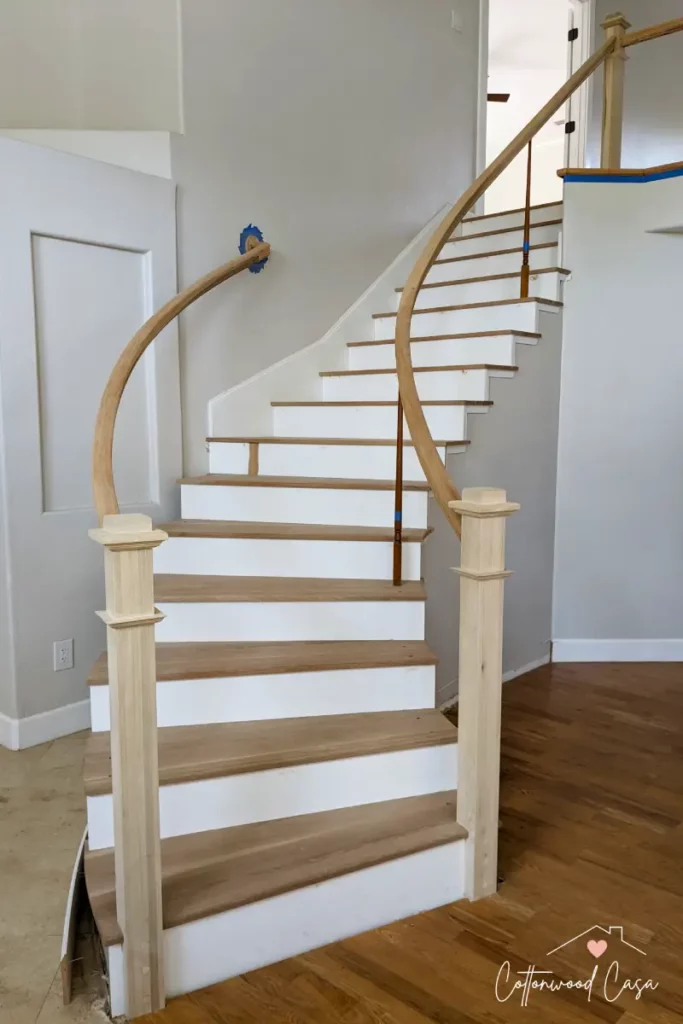
I did all the painting and staining.
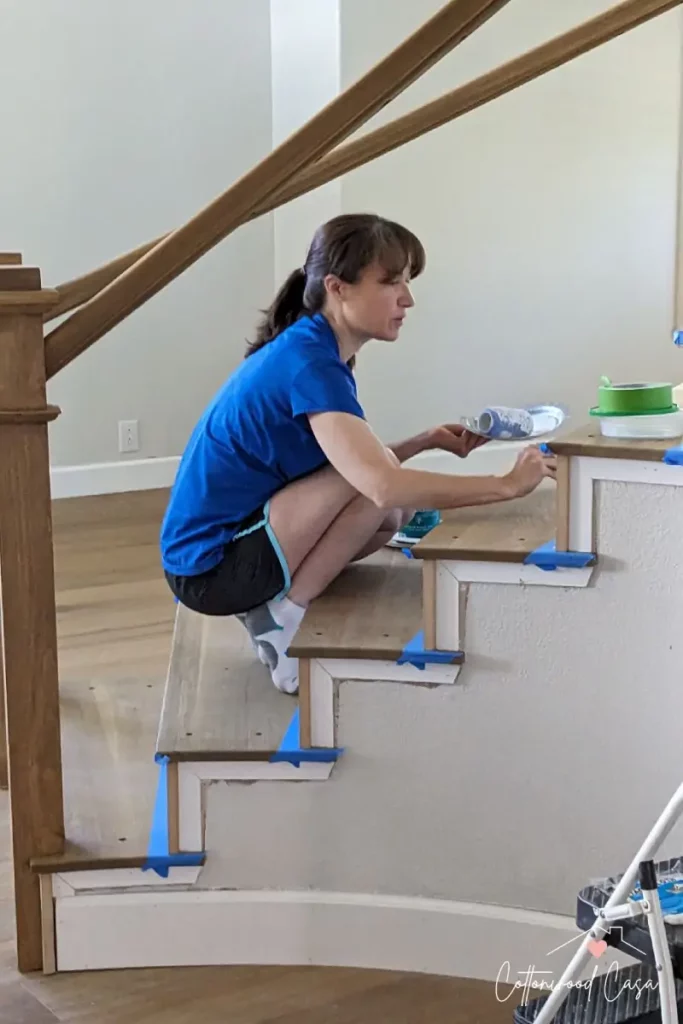
Finally the balusters where installed.
