DIY Home Office Makeover

Our DIY home offic makeover. We gave our home office a makeover by painting a built-in desk and bookshelf. Keep reading for step-by-step details of how we did it and the process and products that we used.
Home Office Makeover: Before
When we bought our home, the office had a massive built-in desk and bookshelves which completely covered an entire wall and had space for two people to sit and work. I loved the large workspace and all the storage, but I didn’t like the dark color.

I knew that I wanted to update this dark piece of furniture, so we set out to give our home office a makeover. This was a large DIY project with multiple steps.
Materials Used:
- sandpaper (120 grit)
- palm sander
- gloves
- mask
- eye protection
- tack cloth
- painters tape
- plastic sheeting
- paint
- spray gun (Graco Magnum)
Step 1: Sand
First, I sanded. This was absolutely the worst part. It’s messy and unpleasant. Make sure you wear proper protection for your eyes and face. It’s awful if you get sawdust in your eyes or breathe it in. The dust is messy, and it goes everywhere! If you don’t want to sand, you can use liquid sandpaper. But instead of exposing yourself to sawdust, you’ll be exposing yourself to chemical fumes, so be sure to use it in a well ventilated space.


Step 2: Prep
Next, I prepped the area for painting. I went over everything with a shop vac which removed most of the sawdust. Then I wiped down every surface with a tack cloth. This removed any fine dust that was left and provided a clean surface to paint on. I also masked off all the areas that weren’t getting painted.

Step 3: Prime
Then, we primed. It was important to prime the surface, especially since I wasn’t able to remove all of the stain. The primer blocks the stain from bleeding through, which is really important since I was using white paint. Primer also helps prepare the raw wood surfaces to accept the paint. This step was easy thanks to the use of a paint sprayer. We used the Graco Magnum paint sprayer, and it really made this big job easy! Using a paint sprayer enables the paint to go on smoothly with no brush or roller marks. Using a paint sprayer looks easy, but it definitely requires some technique. Luckily, my husband had some experience using a paint gun and applied both the primer and the paint.

Step 4: Paint
Finally, we painted. After two coats of primer, we applied two coats of paint with the paint sprayer.

We used all the existing hardware, so that got painted too.

Step 6: Stain
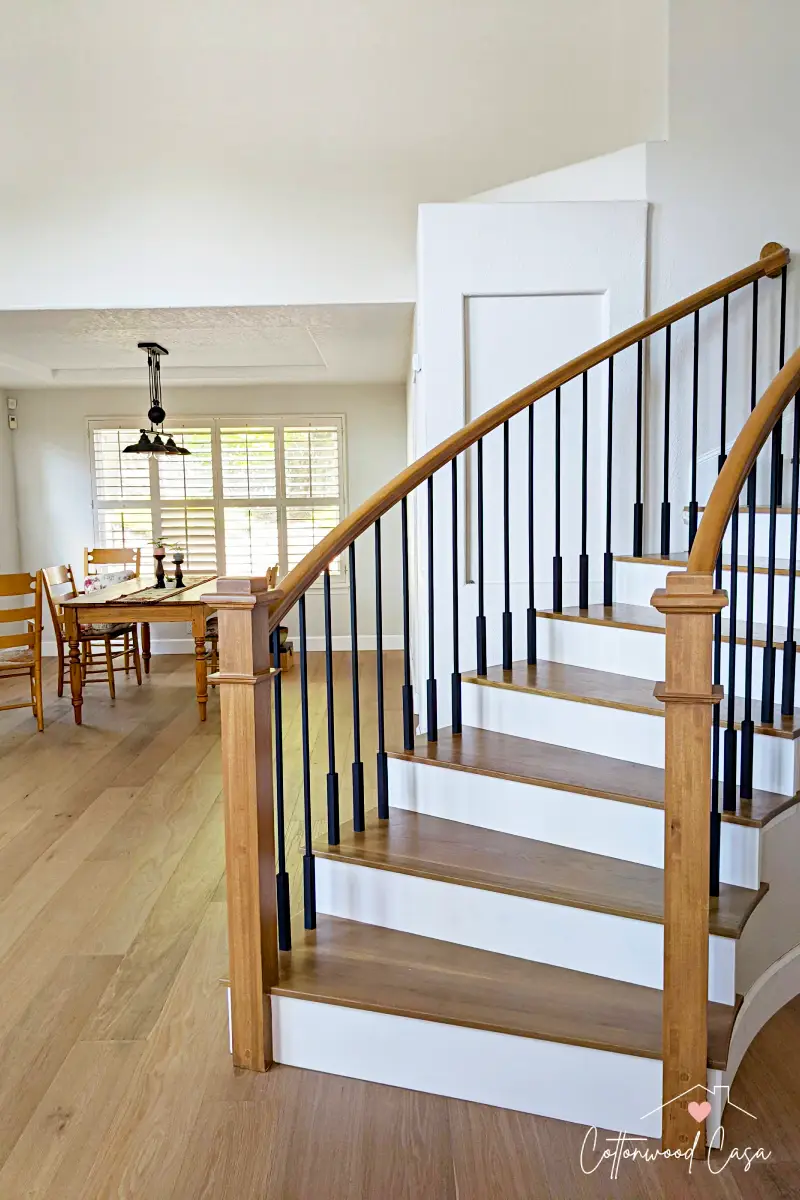
When the painting was finished, the final step was to stain the desk top. I used a custom stain that matched our floors and it’s the same stain I used on the stairs.

Step 7: Wallpaper
Even after all the painting and staining, the desk still needed something extra. So I added some wallpaper.

After sanding, painting, staining, and wallpapering, this is what the desk looks like now! It was a lot of hard work, but definitely worth it!
Home Office Makeover: After

It was a lot of work, but it look so much better! The original built in desk and shelves were so dark. Now they are just as funtional buy so much prettier!
Home Office Makeover: Before and After


